Step 1: Collect and Prepare Your Caps
Start collecting bottle caps well in advance — you will need more than you think. Rinse every cap thoroughly and allow them to dry completely. Remove any paper liners from inside the caps. Sort them by color if you want a specific look, or mix them randomly for a beautiful marbled, multicolor effect.
Step 2: Prepare Your Mold
Line a small metal baking pan or loaf tin with parchment paper — this prevents the plastic from sticking to the pan and makes removal much easier. Alternatively, silicone molds work beautifully as the finished plastic releases easily without sticking.
For garden markers, you want relatively thin, flat pieces — so choose a shallow mold or spread the caps thinly in the pan. A thickness of about half a centimeter to one centimeter works well for markers that are rigid enough to hold their shape but thin enough to cut and shape easily.
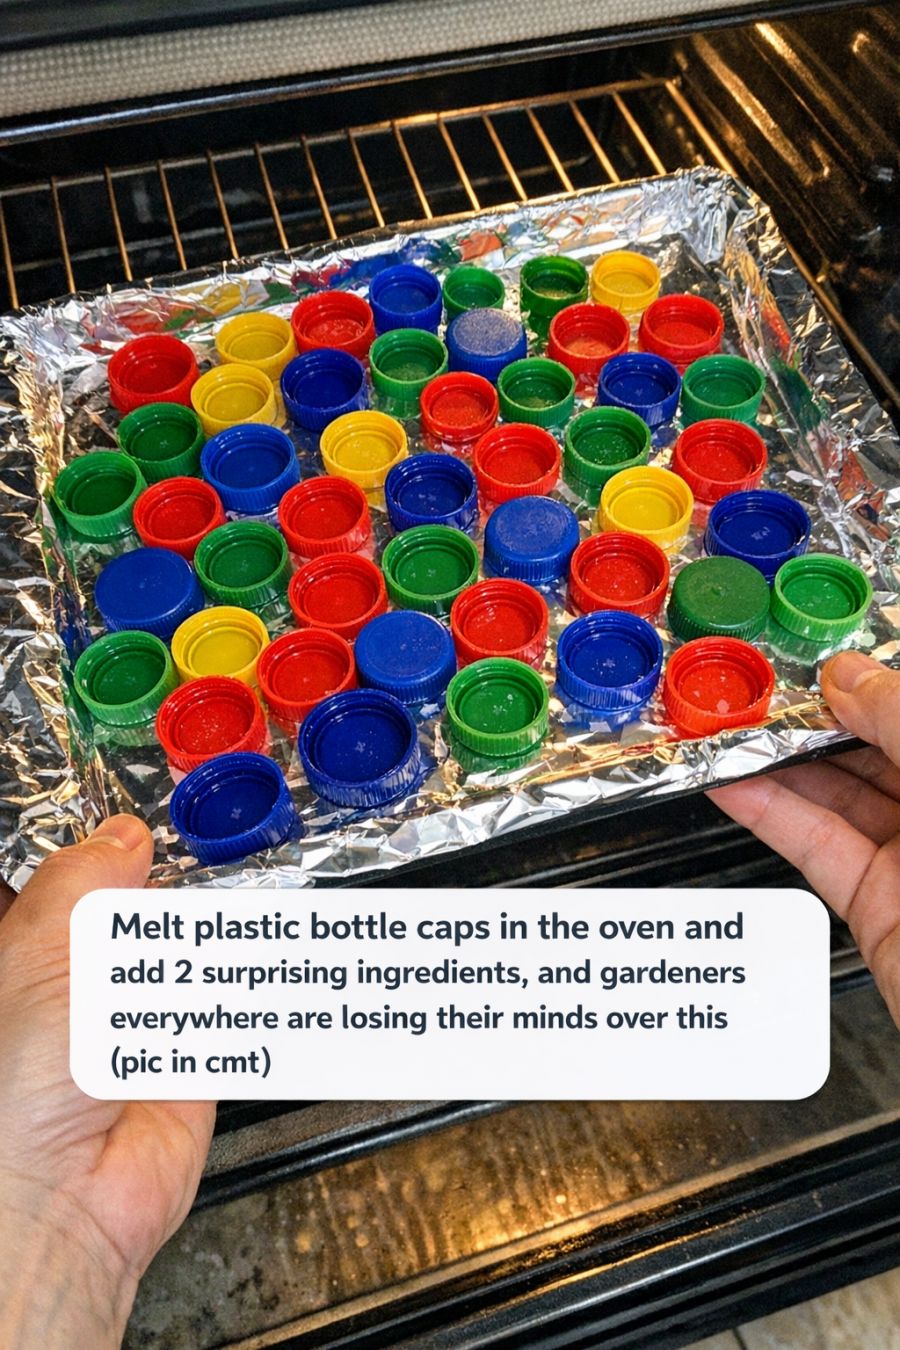
Step 3: Arrange the Caps in the Mold
Fill the prepared mold with your sorted or mixed bottle caps. Pack them in tightly — remember they will shrink and compress as they melt. The more tightly packed, the fewer air bubbles in your finished piece.
Step 4: Add the Sand and Coffee Grounds
Before placing the mold in the oven, sprinkle a thin, even layer of fine sand over the top of the caps — roughly one to two tablespoons for a standard small baking pan. Then add a thin layer of dried coffee grounds over the sand — again, one to two tablespoons is enough. These two ingredients will melt into and through the plastic as it heats, distributing throughout the finished piece.
Step 5: Melt in the Oven
Set your oven to approximately 150 to 160 degrees Celsius (around 300 to 320 degrees Fahrenheit). This is the critical safe range for HDPE — it is hot enough to melt the plastic fully without reaching the burning point. Never exceed 180 degrees Celsius with HDPE plastic.
Place the mold in the preheated oven and allow the caps to melt slowly. This process takes approximately 20 to 30 minutes. Check the mold periodically through the oven window. When the plastic has fully melted into a smooth, even layer throughout the mold with no visible individual cap shapes remaining, it is ready.
Ensure the room is well ventilated during this process — open windows and run a fan. At the correct temperature, HDPE produces minimal fumes, but good airflow is always the right approach when working with any melted plastic.
Step 6: Press in the Skewers
Working quickly while the plastic is still hot and pliable — wearing heat-resistant gloves — press the wooden skewers or dowels into the melted plastic along one edge of the mold. Push them in approximately one to two centimeters and hold them upright until the plastic begins to firm up around them. These will become the stakes that push into the soil.
If you are making separate flat pieces to attach to stakes later, skip this step and simply allow the plastic to cool flat.
Step 7: Cool and Remove
Allow the mold to cool completely at room temperature — do not rush this by placing it in the fridge or freezer, as rapid cooling can create unwanted stress cracks in the plastic. Full cooling takes approximately one to two hours.
Once completely cool, flex the mold gently or peel back the parchment paper to release the finished plastic piece. It should come out cleanly in one solid piece.
Step 8: Cut and Shape Your Markers
Using a sharp craft knife, scissors, or a craft cutting tool, cut the finished plastic sheet into individual marker shapes. Classic pointed-bottom stakes work well, but you can cut any shape you like — rectangles, arrows, tags, or decorative shapes.
The plastic cuts cleanly and smoothly.
The texture of the coffee grounds and sand will be visible throughout, giving each piece a beautiful, natural, stone-like appearance.
Step 9: Write Your Labels
Use a paint pen or oil-based permanent marker to write plant names on the textured surface. The gritty texture from the sand holds the ink significantly better than plain smooth plastic. For extra permanence, seal the writing with a clear waterproof sealant once the ink has dried fully.
Why Gardeners Are Obsessed With This Hack
The results genuinely surprise people the first time they make these markers. Here is why the gardening community cannot stop sharing this project:
They last for years outdoors. Unlike wooden markers that rot, paper labels that dissolve, and painted sticks that fade, these HDPE markers are completely waterproof, UV-resistant, and virtually indestructible in garden soil. Gardeners report using the same markers for multiple growing seasons without any degradation.
They look stunning. The marbled colors from mixed caps combined with the dark, stone-like texture from the coffee grounds create markers that look like expensive artisan garden accessories. Nobody can believe they came from bottle caps.
They are completely free. You are using materials that would otherwise go straight to landfill. The only cost is a small amount of electricity to run the oven for 20 to 30 minutes.
They are endlessly customizable. Sort caps by color to make color-coded markers for different vegetable families or garden sections. Use all green caps for herb markers. Create a different color scheme for flowers versus vegetables. The possibilities are completely unlimited.
The coffee grounds do double duty. Beyond the beautiful aesthetic effect, placing these markers in garden soil introduces small traces of coffee around your plants — and coffee grounds are a well-known natural deterrent for slugs, snails, and certain insects that damage young plants.
Safety Rules to Follow Every Time
Only use HDPE plastic — number 2. Check the recycling symbol on the bottom of every container before adding its cap to your collection. Never melt PVC (number 3) or polystyrene (number 6) — these release genuinely toxic fumes
Never exceed 180 degrees Celsius. Above this temperature, even HDPE begins to degrade and can release harmful compounds. Keep the temperature controlled and never walk away from the oven during the melting process
Always ventilate the workspace. Open windows, run a fan, and work in a space with good airflow even when using only HDPE at the correct temperature
Dedicate your equipment. Once a baking pan, mold, or oven has been used for plastic melting, it should no longer be used for food preparation. Use old equipment or thrift store finds specifically for this purpose
Keep children away from the oven during the melting phase. The process is safe when done correctly by an adult — but the hot plastic and equipment should not be handled by children until everything has cooled completely
More Things You Can Make With Melted Bottle Caps
Once you have mastered the basic technique, the possibilities expand dramatically:
Colorful garden stepping stones — melt large quantities of mixed caps into flat circular or square molds for stunning, durable, weatherproof stepping stones that add a burst of color to any garden path
Self-watering drip irrigation discs — flatten melted plastic into small discs and punch tiny holes through them to create simple drip irrigation attachments
Pot markers and hanging tags — shape the melted plastic into small tags, punch a hole before it fully cools, and thread garden twine through for hanging labels on pots and trellises
Colorful garden edging — melt large batches of caps into long rectangular strips to create bright, weatherproof edging material for garden beds
Seedling pot labels — make small flat pieces sized perfectly to slot into the edge of seedling trays
Coasters and trivets for outdoor use — thicker pieces make beautiful, completely weatherproof coasters for outdoor entertaining
The Bottom Line
This is one of those genuinely brilliant DIY projects that delivers on every promise. It costs nothing, uses waste that would otherwise go to landfill, produces results that look professional and beautiful, and creates garden tools that will genuinely last for years.
All it takes is a collection of bottle caps you were going to throw away, a small amount of sand and coffee grounds, and 30 minutes of oven time. The result is a set of custom garden markers that most gardeners would pay good money for in a shop — made entirely for free from your own recycled waste.
