How I Turned Simple River Stones into Beautiful Green Decorative Pieces
I recently tried a simple DIY idea that completely transformed ordinary river stones into stunning decorative accents. The process was easy, relaxing, and the final result looked surprisingly realistic—almost like tiny green plants.
Here’s exactly how I did it step by step:
Materials I Used:
Smooth river stones
Green acrylic paint (different shades)
Paintbrushes (small and medium)
A cup of water
Paper towels
Optional: clear sealant spray
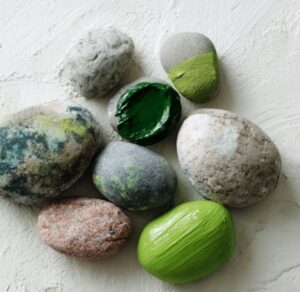
Step 1: Choosing the Right Stones
I started by picking smooth, flat river stones. The smoother the surface, the better the paint will look. I avoided rough or cracked stones because they’re harder to work with.
Step 2: Cleaning the Stones
Before painting, I washed all the stones thoroughly to remove dust and dirt. Then I let them dry completely. This step is very important so the paint sticks properly.
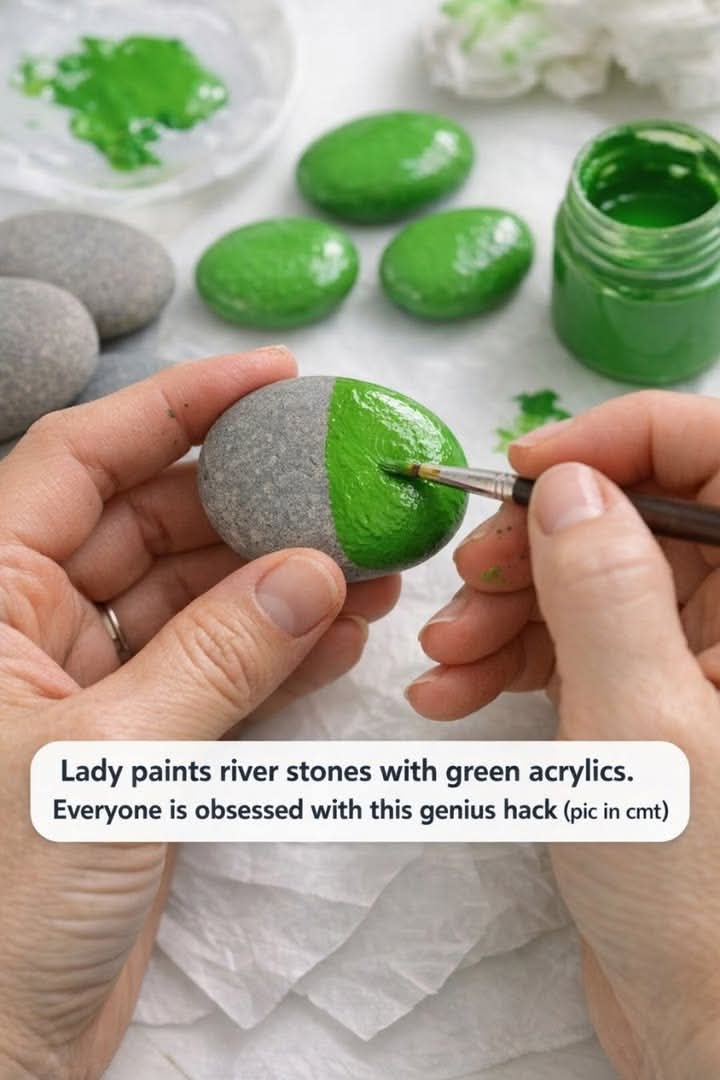
Step 3: Applying the Base Color
I began with a base coat of green acrylic paint. I used a medium brush to cover the entire surface evenly. After that, I let the stones dry for about 20–30 minutes.
Step 4: Adding Depth and Texture
This is where the magic happens. I used different shades of green—some lighter, some darker—to create a natural effect. With a smaller brush, I gently added strokes and patterns to make the stones look like moss or tiny plants.
I didn’t try to make them perfect. In fact, the more random the strokes, the more realistic they looked.
Step 5: Letting Everything Dry
Once I was happy with the design, I let the stones dry completely. This usually took about an hour to be safe.
Step 6: Optional Sealing
To make the colors last longer, I sprayed a clear sealant on top. This step is optional, but it really helps protect the paint—especially if you plan to use the stones outdoors.
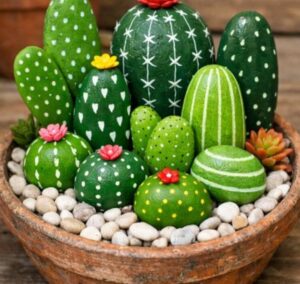
Final Result
I placed the finished stones in flower pots and around my home, and they instantly added a fresh, natural touch. The best part? They require no maintenance at all.
